Our MakerBot’s finished (again)
by BillYoung • December 21, 2009 • Uncategorized • 0 Comments
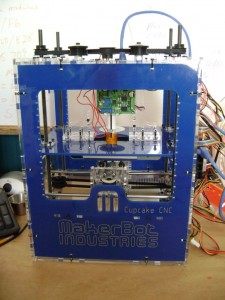
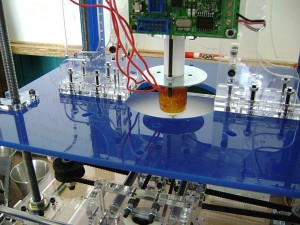
Well, we actually finished the MakerBot we’re building to learn a little more about additive 3d printing about a month ago and did a couple of successful builds. Unfortunately we forgot the fundamental rule of digital tools and didn’t turn Linux updates off, causing a catastropic plunge of the Z axis and Plastruder when it started checking for updates and a subsequent Plastruder rebuild! It’s all back together and working now but not tidied up, so excuse the loose wires, etc.
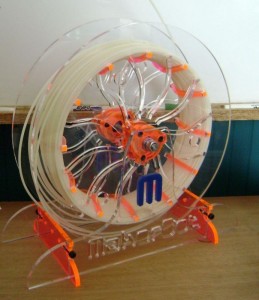
The acrylic pieces were cut by Hines Design Labs on their Laser cutter and it looks great in clear and ShopBot blue. They also made what they call a “Barbie Ferris Wheel” to hold the spool of ABS…it’s very sporty!
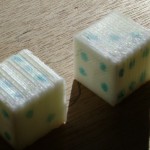
 I have a new-found sympathy for new ShopBot users while I’ve learned about the MakerBot and additive 3dPrinting ..there are lots of things like g and M code and the Skeinforge “toolpathing” software that are seem pretty cryptic in the beginning. To help me figure out if the settings I’m messing with are helping or hurting, I’ve been printing the same cube over and over and comparing the results. I don’t have the first one… the default speeds were too high causing missed steps and giving the cube a distinctive lean to one side…but here’s cube #2 (on the left) and cube #4 (on the right) to show my progress. I still occasionally have an issue with the tool stopping moving for a couple of seconds but the Plastruder still extruding, leaving a blob, but I think I’m narrowing that communication problem down. (Note to MakerBotters…running the file from an SD card pretty much resolves this, at least so far)
Oh yeah, I didn’t want to have a bunch of cubes laying around…that would just seem wasteful…so we put dots on them with a sharpie and use them as dice!


