

Fabbing Plexiglas Desktop Tool Enclosures: from McKenzie Digital Fab
by McKenzie • February 9, 2013 • community shops, distributed manufacturing, Featured 100k Users, shopbot • 1 Comment
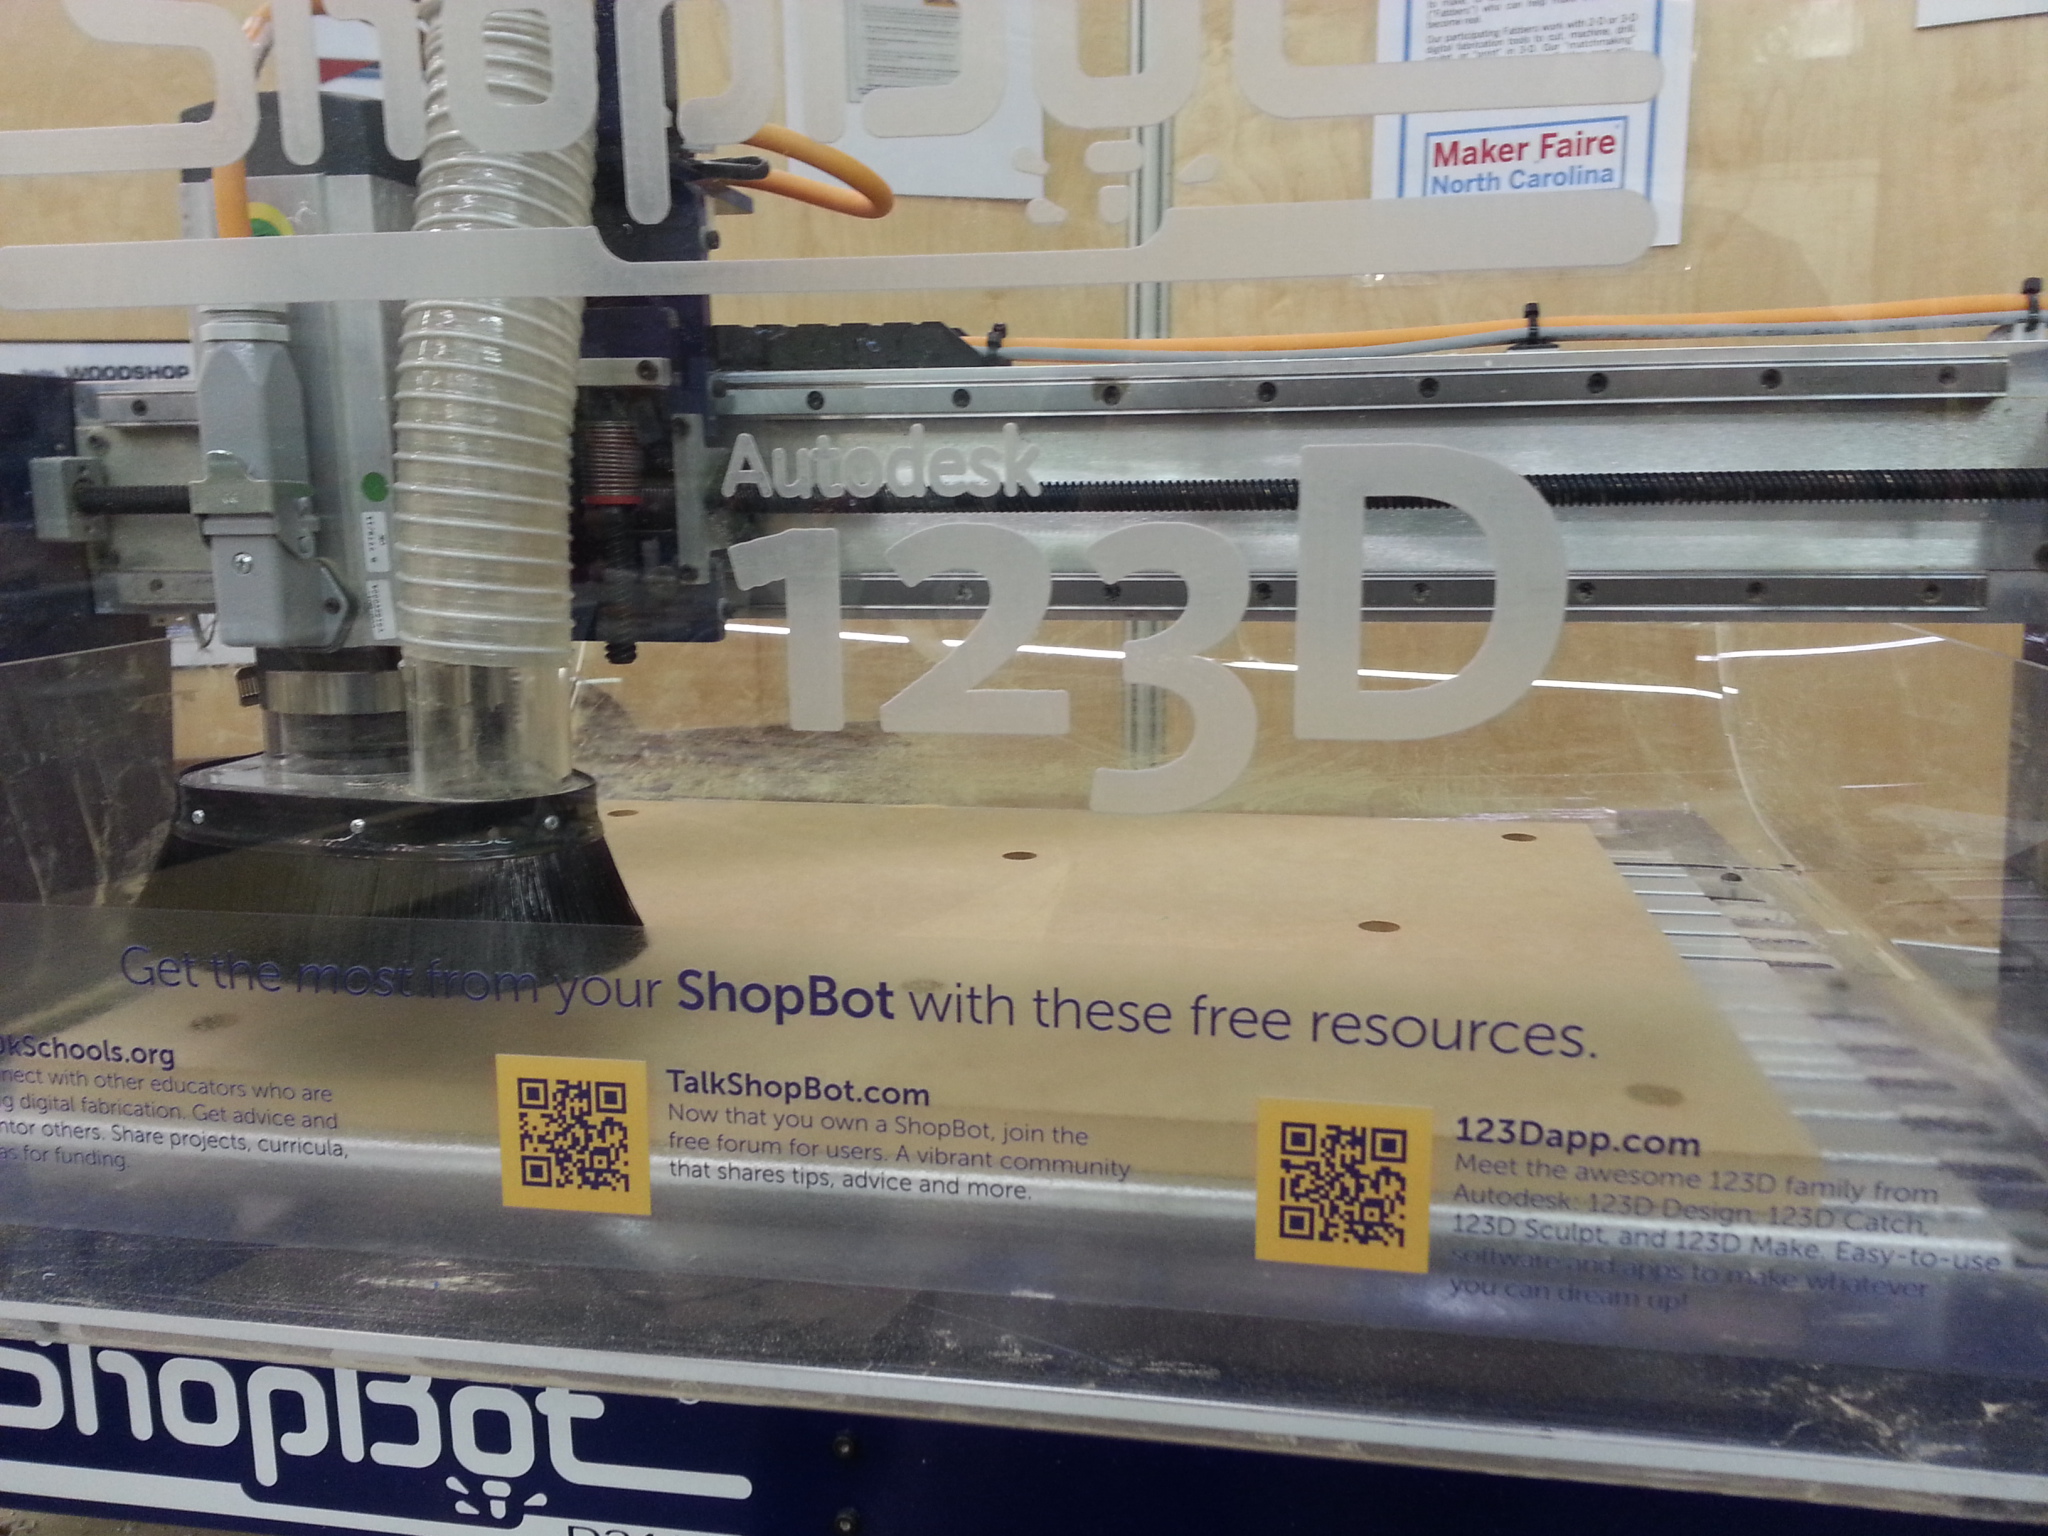
Finished mini enclosure mounted on the ShopBot Desktop CNC tool
While working at ShopBot alongside their development team in helping to create the Desktop tool, early on we started seeing the need for safety enclosures around the head of the tool. The early versions of this were hoping to be a surrounding that would offer protection from flying debris, a sound barrier, and a secondary front (in addition to the dust foot) in case wandering fingers were to get too close to the cutter head. All of these requirements were satisfied except for the noise requirement. This involvement allowed me the opportunity to work in plastic sheeting and forming the material.
ShopBot’s Ted Hall, being the tinkerer that he is, came up with the DT mini enclosure while looking for an added means of protection when visiting trade shows and MakerFaires around the country. The idea of the mini enclosure is to create a physical yet transparent barrier around the perimeter of the cutting area so that bystanders are able to see what is happening without little fingers sneaking in.
After several revisions of the DT mini enclosure, we have ended up with the current enclosure. ShopBot allowed me to cut the enclosures for their co-promotion with the AutoDesk 123D Design Software. This promotion is targeting the STEM educational initiative in hopes of allowing more schools access to CNC technologies.
The enclosures themselves are not particularly difficult to cut, but what makes the item a finished part is the bit used to cut it out. The bit is an Onsrud 66-087 ¼”.

Onsrud Bit for working with plexiglas
The bit has a coved out profile on the side of the bit; this allows the cutter to create a radius edge, eliminating the sharp edges that an end mill creates. The down side of this bit is that you have to cut deeper than the machine bed in order to align the center of the coved area on the bit with the edge of the material. This can create hold-down issues if you do not have a good enough vacuum system, and really makes your spoil board look like hell. I have been able to cut the impact modified acrylic at around 4-6 ips with a RPM of 18K.
The other challenge of this is bending the parts. I have a heating bar that I place the parts across. I have a stop that I use for the parts so that they all end up in a consistent manner. For the side portions I had to create a bending jig for this part since the entire enclosure relies on the positioning of the side walls. Once the parts are heated they are taken to a bending fixture where they are allowed to cool at their prescribed angle. Too much heat and the plastic starts to bubbling and can start to stretch. To help this problem I am using a timer to keep my heating times regulated.
When the parts are cooled I stack them and then place the extra graphics on the front shield. All of the parts are bent and shipped with the protective film on them for protection and for the customer to enjoy the fun of pulling it off. I have to pull the film up a little to place the graphic on and then re-tape once graphic dries.
So far this has been an educational experience, but all things should be. Please let me know if you have any questions on the process or if you have insight of a better way.

Cut out plexi pieces

Finished enclosure parts stacked up and ready to go. Protective film removed by customer
“Life is a journey, not a destination.”
— Ralph Waldo Emerson
Happy Cutting!
B.
Hooray. Several of these methods are not on our list. Good.